Getting the Heat Right for Fiberglass Annealing
Most heaters you buy off the shelf just blast uniform heat everywhere. But if you’re in the middle of R&D for new fiberglass materials, “uniform” usually isn’t what you actually need. The real trick is power density. It’s all about controlling exactly where those watts land. You want the surface to hit that glass transition temperature without accidentally cooking the core of the material.
It’s more than just the size
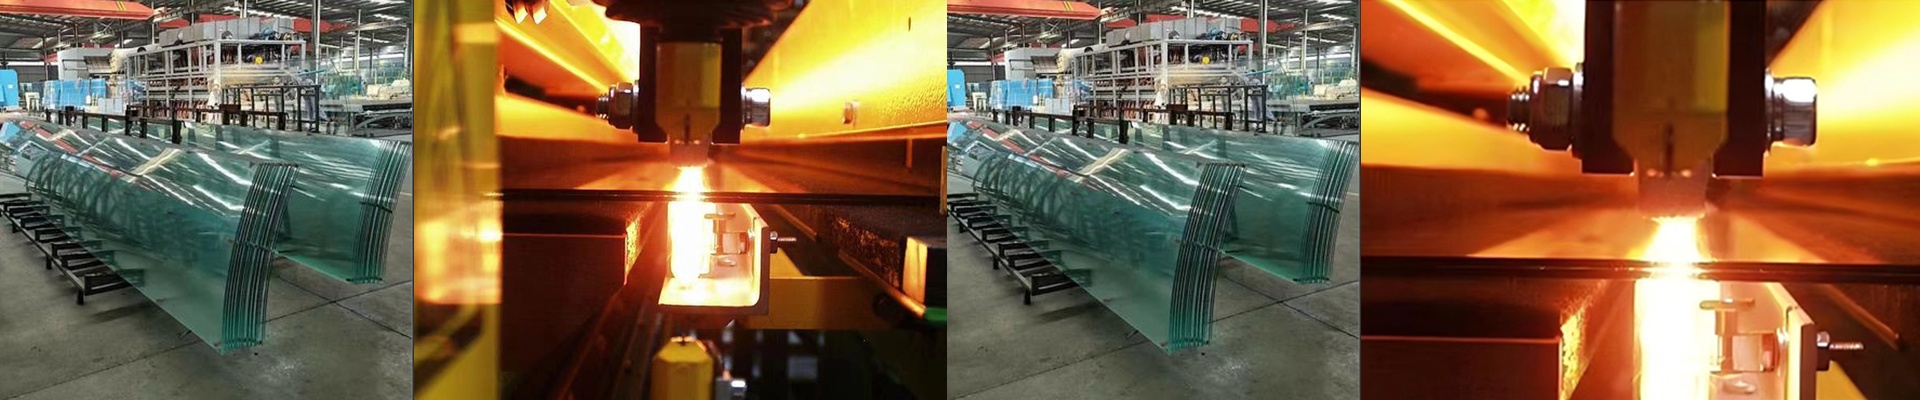
Sure, we can make a heater longer or wider. That’s the easy part. The real magic happens when we look at the watt-per-centimeter distribution. We can build heaters with graduated power zones. Imagine hitting the lead-in edge with high heat and then tapering it off as the material moves toward the exit. It stops thermal shock in its tracks. Plus, you can tweak your annealing curve without having to mess with your line speed.
The trade-off: Power vs. Heat Soak
Here’s the thing: when you try to cram a ton of power into a tiny footprint to save space, you run into heat soak. If your airflow isn’t dialed in, those high-wattage elements are just going to burn themselves out. We build our units to take the hit, but you’ve got to make sure your cooling system can handle the ambient heat building up around the housing.
Room to experiment
We build these tools for “parameter freedom.” You aren’t stuck with some factory preset that someone decided was “good enough” three years ago. You can shift the voltage and play with the power distribution to see how a new composite reacts to different thermal gradients. It’s about failing fast in the lab. It’s much better to break things now than to crash a production line later. Just wire it up, run your tests, and keep adjusting that density profile until the material behaves. We’ll handle the raw thermal control—you handle the science.