Getting the Heat Right in Custom Glass Annealing
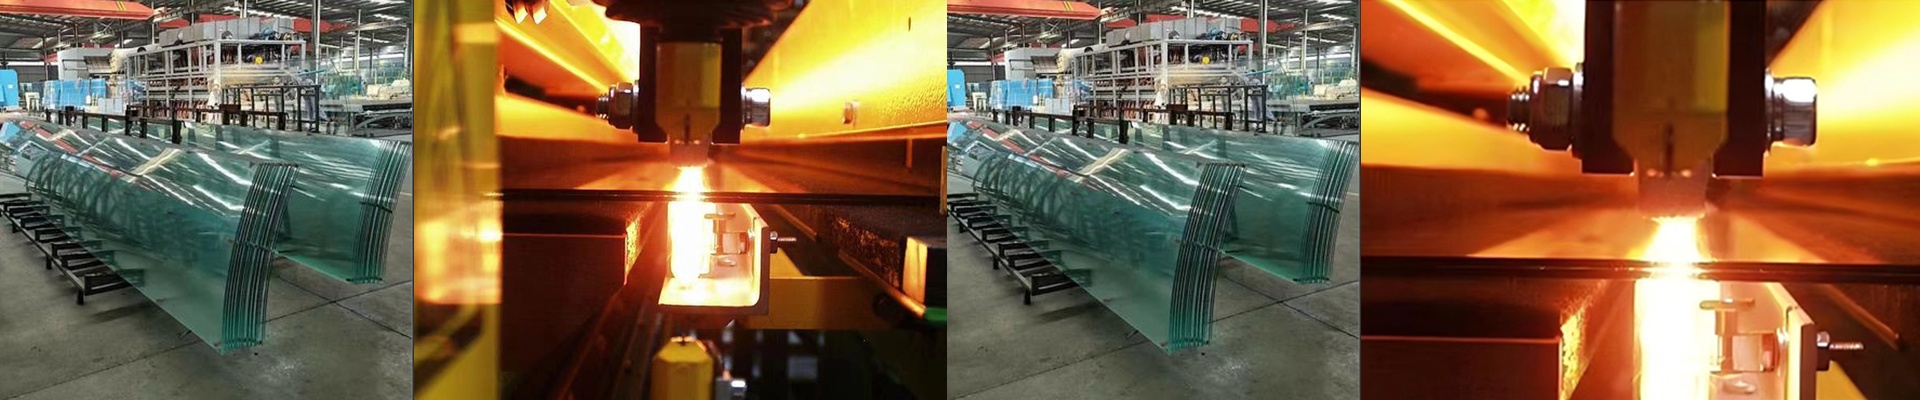
When you’re messing around with new glass materials, the size of the oven is usually the last thing on your mind. The real headache? Power density. If your heating zones aren’t dialed in to match the actual mass of your sample, you’re asking for trouble. You’ll end up with internal stress or uneven crystallization, and then you’ve wasted a perfectly good sample. That’s why we don’t just sell you a metal box. We focus on what we call “parameter freedom.” Basically, we figure out exactly how many watts you need per square inch to make your R&D actually work. Dialing in the thermal profile Most ovens you buy off a shelf just give you a uniform heat soak. For a standard project, that’s fine. For R&D? Not even close. We customize the power density across the heating elements. This means you can create a steep thermal gradient or keep things totally flat across the substrate. You get to decide exactly where the heat hits. Need a rapid ramp-up followed by a surgical, steady soak? We just adjust the wattage and the spacing of the elements. Simple. The hardware trade-off We use high-density elements to keep the footprint small without sacrificing power. But here’s the thing: when you cram that much wattage into a tight space, it gets hot. Really hot. Because of that, your cooling system has to be up to the task. If the area around the oven shell gets too toasted, your controller will start to drift, and your precision goes out the window. To fix this, we give you the flexibility to wire up different power stages. You get direct, honest control over your heating zones. Why this matters for your lab This kind of setup lets you play with different glass compositions and cooling rates without having to rebuild your entire rig every time you have a new idea. It’s a great way to mimic a massive industrial lehr right there on your lab bench. You get the raw control you need to find that exact glass transition temperature (Tg) without having to guess and hope for the best.